Synology NAS Setup Guide for Home Backup

2backups Team
Reviews, guides, and backup strategy from the 2backups editorial team
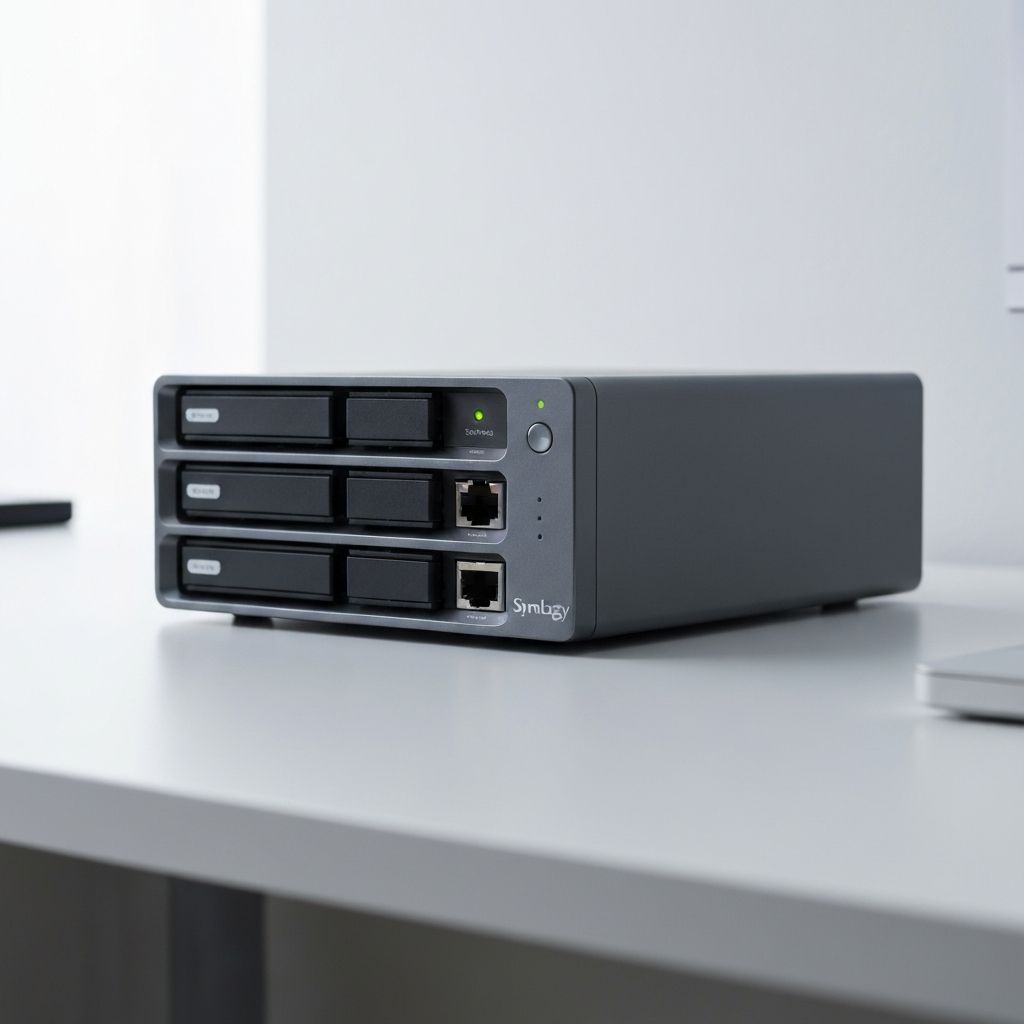
A NAS (network-attached storage) is a small always-on computer full of hard drives that every device in your house can back up to automatically. Synology's DiskStation line is the most approachable way to get one. This guide takes a DS220+ from the box to nightly backups of every computer in the house, plus a copy in the cloud.
What you need
- A two-bay Synology NAS (DS220+ or similar)
- Two NAS-rated hard drives of the same size (WD Red Plus or Seagate IronWolf, 4–8 TB each)
- An Ethernet cable to your router — Wi-Fi is not an option for a NAS
- About an hour
Step 1: Install the drives
Pop the drive trays out, snap a drive into each (no screws on most models), and slide them back in. Connect Ethernet and power, then press the power button. The NAS beeps once when it's ready, usually in about a minute.
Step 2: Find it and install DSM
On any computer on the same network, open a browser and go to find.synology.com. It locates the NAS and walks you through installing DSM, Synology's operating system. Create an administrator account with a strong, unique password — this is the account that can read every backup in the house. Store it in a password manager.
When asked about updates, choose to install them automatically. A NAS on your network with unpatched software is a liability.
Step 3: Create the storage pool
Open Storage Manager and create a storage pool. Choose SHR (Synology Hybrid RAID) with data protection for one drive failure. With two 4 TB drives you get 4 TB usable; if one drive dies, the NAS keeps running and you swap the drive at leisure.
Pick the Btrfs file system when offered. It enables snapshots, which matter later.
Step 4: Create a shared folder per computer
In Control Panel → Shared Folder, create one folder per device you'll back up: backup-laptop, backup-desktop, and so on. Create a separate user for each with access only to its own folder. That way ransomware on one machine can't reach another machine's backup.
Step 5: Back up a Mac with Time Machine
Time Machine needs a folder flagged as a Time Machine target. In Control Panel → File Services → Advanced, enable Bonjour Time Machine broadcast and select the folder. On the Mac, open System Settings → General → Time Machine, click Add Backup Disk, and pick the NAS. Set a quota on the shared folder (twice the Mac's drive size is a good rule) so one machine's history can't consume the whole NAS.
Step 6: Back up a Windows PC
Install Synology Active Backup for Business from Package Center on the NAS, then the agent on the PC. It takes full-image backups on a schedule with deduplication, and can restore a whole machine or a single file. Point it at the PC's shared folder and set a nightly schedule.
Step 7: Back up phones
Install Synology Photos on the NAS and the matching app on each phone. Enable photo backup on Wi-Fi only. Photos are usually the data people would actually cry over, and this gets them off the phone automatically.
Step 8: Turn on snapshots
Install Snapshot Replication and schedule daily snapshots of each backup folder, retaining 30 days. A snapshot is a read-only, point-in-time view of the folder. If ransomware encrypts a machine and its backup, you roll the folder back to yesterday's snapshot in seconds. This is the single most valuable feature of a Btrfs NAS.
Step 9: Send a copy off-site
A NAS in your house is still in your house. Install Hyper Backup, add a destination — Backblaze B2 is the cheapest reputable choice; S3 also works — enable client-side encryption, and schedule a nightly job. The first upload takes days; after that only changes go up. Now you have the full 3-2-1: originals on the computers, a copy on the NAS, a copy in the cloud.
Step 10: Lock it down
- Enable 2-factor authentication on the admin account
- Disable the default
adminuser (DSM prompts you) - Turn on the firewall and auto-block after failed logins
- Do not forward ports from your router to the NAS. If you need remote access, use QuickConnect or a VPN
- Set up email notifications so you hear about a failed drive before the second one fails
Step 11: Test a restore
Delete a file from a backed-up machine and recover it from the NAS. Then recover one from a snapshot. Then recover one from Hyper Backup. Ten minutes now is the difference between a backup and a hope.
That's it. From here the NAS does its job silently. Check the notification emails, replace drives when they fail, and run a test restore every few months.